In the previous post, we explored how Coding Agents work under the hood — System Prompts, Tools, Skills, and the Agent Loop. We saw that Pi’s run_command tool gives the agent access to any CLI command on the system. That’s powerful. It’s also dangerous.
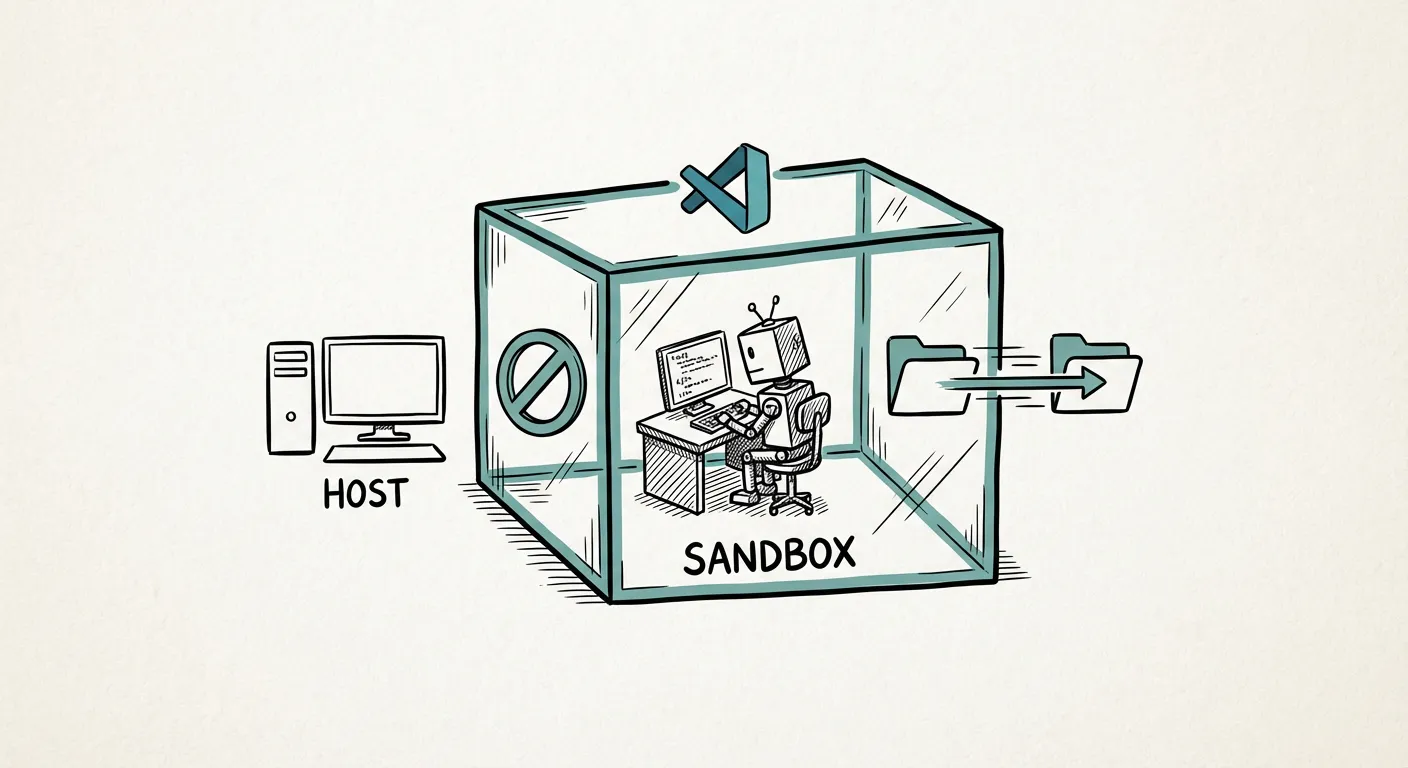
Pi, by default, has no boundaries. It operates with the full permissions of the user running it. If your user can delete system files, so can Pi. If your user can push to production, so can Pi. This is by design — Pi trusts the operator to set appropriate constraints. But it means that sandboxing is not optional; it’s essential.
The Default Danger
Let’s be concrete about what can go wrong when you run an unbounded Coding Agent:
- File system damage: The agent might overwrite or delete files outside the project directory — configuration files, SSH keys, or other projects.
- Network access: The agent could make outbound requests to external services, potentially leaking source code or credentials.
- Privilege escalation: If the agent runs under a user with sudo access, a misinterpreted instruction could lead to system-wide changes.
- Git operations: The agent might push commits to the wrong branch, force-push, or modify
.gitconfig.
These risks range from common (the agent writes to an unexpected file) to rare but catastrophic (the agent modifies system files). Sandboxing protects against the full spectrum.
Dev Containers: The Recommended Approach
A sandboxing solution we’ve used extensively is Dev Containers — Docker-based development environments integrated into VS Code. Their strength is integration with editor extensions and toolchains not available on the host. Here’s how it works:
- Define a Dev Container for your project using a
devcontainer.jsonconfiguration file. This specifies the Docker image, mounted volumes, and extensions. - Open the project in the Dev Container via VS Code. The editor runs inside the container, and so does Pi.
- Project files are bind-mounted into the container. Both you (via VS Code on the host) and the agent (inside the container) can read and write the same files — enabling a collaborative workflow where you make manual edits while the agent works on other parts. But the agent cannot access anything outside the mount points.
- The container’s network, filesystem, and process namespace are isolated from the host. The agent’s
run_commandruns inside the container, not on your host OS. Note that the isolation isn’t absolute — by default, the container process may run as root within its namespace. For stronger isolation, consider user namespace mapping or Podman’s rootless mode.
// .devcontainer/devcontainer.json
{
  "name": "My Project",
  "image": "mcr.microsoft.com/devcontainers/python:3.11",
  "mounts": [
    "source=${localWorkspaceFolder},target=/workspace,type=bind",
    "source=${localEnv:HOME}/.config/pi,target=/home/vscode/.config/pi,type=bind"
  ],
  "workspaceFolder": "/workspace",
  "postCreateCommand": "pip install -e . && npm install -g @mariozechner/pi-coding-agent"
}
This gives the agent a Python environment, installs Pi, mounts only the project directory, and shares your Pi configuration across containers. The agent can work freely within /workspace but cannot touch the host system. Adjust the base image and postCreateCommand for your stack — the same principles apply to any language.
Startup Costs: The Honest Trade-off
Dev Containers aren’t free. The initial container build can take up to 3 minutes — the first run pulls layers and installs everything. (With a prebuilt image, even the first start can be near-instant.) For a quick 5-minute task without a prebuild, this overhead is significant.
But here’s the reality: Coding Agent sessions are rarely 5 minutes. A typical session lasts 30 minutes to several hours. In that context, a 3-minute startup is negligible. And once the container is built, subsequent starts take only ~10 seconds — VS Code caches the container image.
| Session Length | Startup Overhead | Overhead Ratio |
|---|---|---|
| 5 min | 3 min | 60% |
| 30 min | 3 min | 10% |
| 2 hours | 3 min | 2.5% |
| Full day | 3 min | <1% |
The longer your session, the less the startup cost matters. And the safety benefit is constant. With Bubblewrap’s sub-second startup (covered below), even a 5-minute task incurs negligible overhead — the trade-off is weaker isolation than a full Dev Container.
Pre-Configured Environments for Teams
One of the most impactful things a team can do is pre-configure Dev Container definitions for their projects. When a new team member (or a Coding Agent) opens the project, the environment is ready: the right Python version, the right dependencies, the right tools.
This serves a dual purpose: it gives human developers a consistent environment (eliminating “works on my machine”), and it gives the agent a known-good starting point (reducing environment-level mistakes). You can also mount a shared Pi configuration folder into every Dev Container, ensuring all projects use the same Skills and agent settings. Alternatively, keep configurations separate per container — it’s a design choice.
Git Inside Containers
One subtlety: Git configuration inside a Dev Container may differ from the host. The container has its own .gitconfig, which means:
- Committer identity: The agent’s commits will use the container’s Git identity. Set
user.nameanduser.emailin the Dev Container configuration. - SSH keys: By default, SSH keys aren’t forwarded. Configure SSH agent forwarding or use HTTPS with a credential helper. VS Code’s Dev Container extension can also auto-forward your Git config — check the “Copy git config” setting.
- Git hooks: Hooks defined on the host aren’t available inside the container unless explicitly mounted.
These are solvable problems, but easy to overlook until the agent’s first commit shows up as “Unknown unknown@container.”
Alternative Sandboxing Approaches
Dev Containers aren’t the only option. Here’s a technical comparison of the main approaches:
| Approach | Kernel Isolation | GPU Access | Filesystem Isolation | Startup Time | Agent Suitability |
|---|---|---|---|---|---|
| None (bare metal) | ✗ None | ✓ Native | ✗ None | 0s | ⚠ Dangerous |
| Bubblewrap | ◐ Namespace-level | ✗ Not by default | ✓ Bind-mount | <1s | ✓ Lightweight tasks |
| Docker Dev Container | ✓ Namespace + cgroups | ✓ nvidia-container-toolkit | ✓ Bind-mount | ~3 min (cold) / ~10s (warm) | ✓✓ Recommended |
| QEMU/KVM VM | ✓✓ Full hypervisor | ✓ VFIO passthrough | ✓✓ Full | ~30s–2 min | ✓ Heavy isolation |
Bubblewrap (bwrap) is worth a special mention. It’s a lightweight sandboxing tool that uses Linux namespaces to isolate the agent’s filesystem view — the same engine that powers Flatpak for desktop applications. It starts in under a second and requires no Docker daemon. GPU access requires explicit bind-mount (e.g., --dev-bind /dev/dri); the isolation is namespace-level only (not a full VM). For CPU-only coding tasks, it’s an excellent lightweight alternative.
QEMU/KVM VMs provide the strongest isolation — a full hypervisor boundary — and support GPU passthrough via VFIO. We covered this approach in detail in our post on escaping CUDA dependency hell. For Coding Agents, VMs are overkill for most use cases, but they’re the right choice when you need the agent to work with kernel-level tools or when regulatory requirements demand full isolation.
Best Practices for Productive Agent Workflows
Sandboxing keeps you safe. But safety without productivity is just bureaucracy. Through extensive use of Coding Agents at Palaimon, we’ve found the following practices effective:
1. Break Tasks into Small, Reviewable Steps
Don’t ask the agent to “implement the entire authentication module.” Instead, break it down:
- “Create the
auth/models.pyfile with the User model” - “Add login and logout views to
auth/views.py” - “Write tests for the login flow in
auth/tests.py” - “Update the URL configuration to include the auth routes”
Smaller tasks mean smaller diffs, easier reviews, and faster course correction when the agent goes off track.
2. Review Every Generated Change
The agent is fast, but it’s not infallible. Before accepting any change:
- Read the diff carefully
- Run the test suite
- Check for unintended side effects (extra files, modified configs)
- Verify that the change matches the intent of your instruction
Treat agent-generated code with the same scrutiny you’d apply to a junior developer’s pull request. Beware of review fatigue: as you review more agent output, the temptation to rubber-stamp increases. Combat this by occasionally reviewing the final code without the diff view — read it as if a human wrote it.
3. Clear Working Memory Between Features
Pi maintains a working memory (conversation context) across the session. As the context grows, the agent’s performance can degrade — it may confuse earlier instructions with current ones, or lose track of the current task.
After completing a feature, start a fresh conversation or clear the context. This gives the agent a clean slate for the next task and prevents cross-contamination between features.
Pi’s status bar shows the current context size — use it as a gauge. The principle (clear context between features) is universal even if the mechanism differs by agent.
4. Avoid Full-Spectral Development
“Full-spectral development” — asking the agent to design, implement, test, and deploy a feature in one go — sounds appealing but has proven expensive and unreliable in practice. The agent’s context window fills up, errors compound, and the resulting code is harder to review because the diff is enormous.
Instead, use an iterative, supervised workflow:
- Define the task clearly
- Let the agent implement one step
- Review the result
- Provide feedback or move to the next step
- Repeat
This may seem to contradict the autonomy we celebrated in Part 1 — and in a sense, it does. The promise of Coding Agents is autonomous execution, but practice shows that supervised autonomy outperforms unsupervised autonomy. The agent is most powerful when you direct its autonomy toward well-scoped tasks. This is slower in wall-clock time per step, but faster in time to correct, production-ready code — because you catch errors early and keep the agent on track.
The Bottom Line
Coding Agents are powerful tools, but power without boundaries is a liability. Dev Containers provide the right balance of isolation and usability for most development workflows. Combined with disciplined task decomposition, regular reviews, and context management, they enable you to harness the agent’s capabilities without putting your system at risk.
You know what Coding Agents are, how they work, and how to run them safely. But for companies, the real question is strategic: ban them, buy them, or build internal expertise? In the next post, we’ll explore the three paths enterprises can take.